
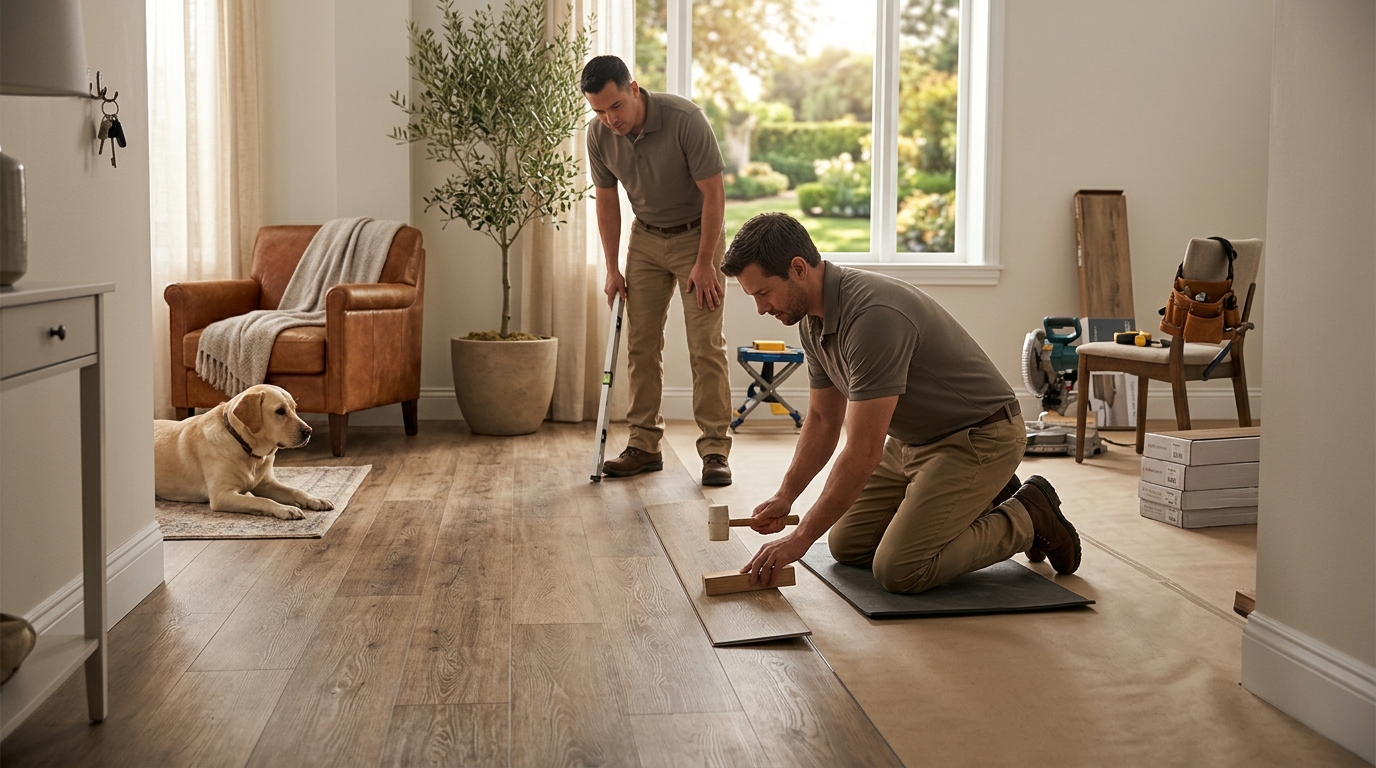
Homeowners in Orange County are increasingly choosing luxury vinyl plank (LVP) for its durability and aesthetic appeal. According to industry reports, LVP has become one of the most popular flooring choices for renovations due to its water-resistant properties and realistic wood-look finishes. This guide outlines the professional installation process used by experts at Divinity Flooring Services to ensure a flawless, long-lasting result.
Preparation and Subfloor Assessment
The success of any flooring installation begins with the subfloor. Before laying a single plank, you must ensure the underlying surface is clean, dry, and level. Industry standards dictate that subfloor flatness must not exceed 3/16 inch over a 10-foot radius to prevent plank separation or noise issues.
LVP is a floating floor, meaning it does not get glued or nailed to the subfloor. Instead, it relies on a stable base to lock together securely. If your subfloor has high spots, use a self-leveling compound to smooth them out. For low spots or uneven joints between plywood sheets, fill them with wood filler or patching material. Once the surface is prepared, vacuum thoroughly to remove all dust and debris. Dust can interfere with the locking mechanisms and cause visible bumps under the planks.
At Divinity Flooring Services, we emphasize that proper subfloor prep is the most critical step in preventing future issues. Our in-house team always conducts a moisture test, especially in areas like Orange County where humidity can fluctuate. If moisture levels are high, a vapor barrier or underlayment with moisture resistance is essential.
Essential Tools and Materials
Gathering the right tools before you start will save time and prevent frustration. Here is a checklist of what you will need:
- Tape Measure and Chalk Line: For accurate measurements and straight reference lines.
- Utility Knife and Extra Blades: LVP planks are easy to cut with a sharp utility knife, but blades dull quickly.
- Pull Bar and Hammer: To tap the planks tightly together in tight spaces.
- Spacers: To maintain the necessary expansion gap along the walls.
- Underlayment: If your LVP does not have attached padding, you will need a separate underlayment for sound dampening and comfort.
- Tapping Block: Protects the plank edges while you secure the joints.
Investing in quality tools ensures that your installation remains tight and secure. Consumer Reports highlights that proper tool usage significantly extends the lifespan of floating floors by preventing gaps and damage during installation.
Acclimating Your LVP Planks
Before installation, the LVP planks must acclimate to the room's temperature and humidity. This process typically takes 24 to 48 hours. Open the boxes and stack the planks flat in the room where they will be installed. This allows the material to adjust to the environment, reducing the risk of expansion or contraction after installation.
Failure to acclimate can lead to buckling or gapping. The National Wood Flooring Association notes that while LVP is more stable than hardwood, it still reacts to environmental changes. Proper acclimation ensures that your floor remains flat and secure for years to come.
Planning the Layout and Starting Row
Start your installation along the longest wall in the room, as this wall is usually the straightest. However, always verify with a chalk line. If the wall is bowed, start along a straight line parallel to it to ensure a professional look.
Leave a 1/4 inch expansion gap between the planks and the walls using spacers. This gap allows the floor to expand and contract with seasonal changes. Without this gap, the floor could buckle or lift at the edges.
Begin with the tongue side facing the wall. If the planks have a pre-attached underlayment, you can skip the separate underlayment step. Otherwise, roll out the underlayment first, ensuring the seams are taped securely. This layer provides sound absorption and additional moisture protection.
Installing the Planks
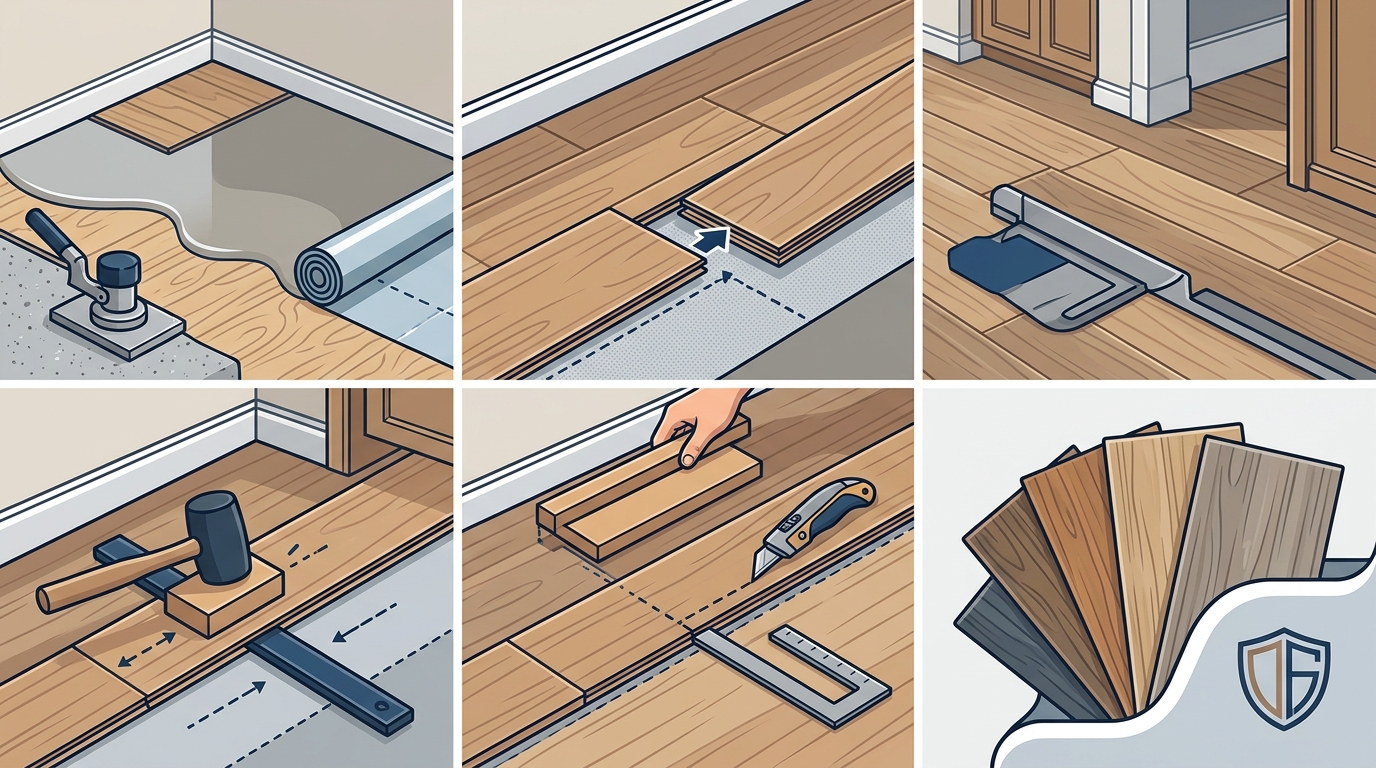
Most modern LVP features a click-lock mechanism. Angle the plank at about 30 degrees and insert the tongue of the next plank into the groove of the previous one. Lower the plank until it clicks into place. Use a tapping block and hammer to ensure the joints are tight. Avoid hitting the planks directly to prevent damage to the locking edges.
Stagger the end joints of the planks by at least 6 to 8 inches. This creates a natural, random wood look and adds structural stability. Divinity Flooring Services recommends staggering joints to prevent weak points in the floor where planks might separate over time.
When you reach the end of a row, measure the remaining space and cut the plank to fit. Leave the same 1/4 inch expansion gap. Use a utility knife to score the plank deeply, then snap it along the score line for a clean cut.
Trimming and Finishing Touches
Once all the planks are installed, remove the spacers. Install the baseboards or quarter-round molding to cover the expansion gap. This not only gives the floor a finished look but also helps secure the edges.
For doorways, you may need to use a transition strip if the flooring meets a different type of floor. Ensure the transition strip is securely fastened to the subfloor, not the LVP, to allow for movement.
Regular maintenance is key to preserving your investment. The EPA suggests using pH-neutral cleaners for vinyl floors to avoid damaging the wear layer. Avoid excessive water, as it can seep into the seams and cause damage over time.
Key Takeaways
- Subfloor Flatness: Ensure the subfloor is level within 3/16 inch over 10 feet to prevent plank separation.
- Expansion Gap: Always leave a 1/4 inch gap around the perimeter to allow for natural expansion.
- Acclimation: Let LVP planks acclimate in the room for 24-48 hours before installation.
- Staggered Joints: Stagger end joints by at least 6-8 inches for structural integrity and aesthetic appeal.
- Tool Quality: Use a tapping block and pull bar to protect plank edges and ensure tight joints.
- Moisture Control: Test for moisture in the subfloor, especially in humid climates like Orange County.
- Professional Support: Consider hiring experts like Divinity Flooring Services for complex installations or subfloor repairs.
Frequently Asked Questions
Can I install LVP over existing tile?
Yes, you can install LVP over existing tile if the surface is smooth, clean, and level. Grout lines should be filled to create a flat surface. If the tile is uneven or loose, it must be removed or repaired first.
How long does LVP flooring last?
Quality LVP flooring can last 10 to 20 years or more with proper care. The lifespan depends on the thickness of the wear layer and the amount of foot traffic.
Is LVP waterproof?
Most LVP is 100% waterproof, making it ideal for kitchens, bathrooms, and basements. However, water can still seep into the seams if not installed properly, so ensuring tight joints is crucial.
Do I need underlayment for LVP?
If your LVP planks have attached underlayment, you do not need a separate layer. If not, an underlayment is recommended for sound dampening and comfort.
Can I install LVP in a basement?
Yes, LVP is an excellent choice for basements due to its moisture resistance. However, you must ensure the subfloor is dry and use a vapor barrier if necessary.
How do I clean LVP flooring?
Sweep or vacuum regularly to remove dirt and debris. Mop with a damp mop and a pH-neutral cleaner. Avoid steam mops, as the heat and moisture can damage the planks.
What is the best way to cut LVP planks?
A utility knife is the most common tool for cutting LVP. Score the plank deeply and snap it along the line. For complex cuts, a jigsaw or circular saw can be used.
Ready to Transform Your Home?
Installing luxury vinyl plank flooring is a rewarding project that can significantly enhance your home's value and comfort. However, precision and attention to detail are key to a successful installation. If you are in Orange County and need expert assistance, contact Divinity Flooring Services today. Our licensed and insured team is ready to help you achieve the perfect floor with a 5-year workmanship warranty.