
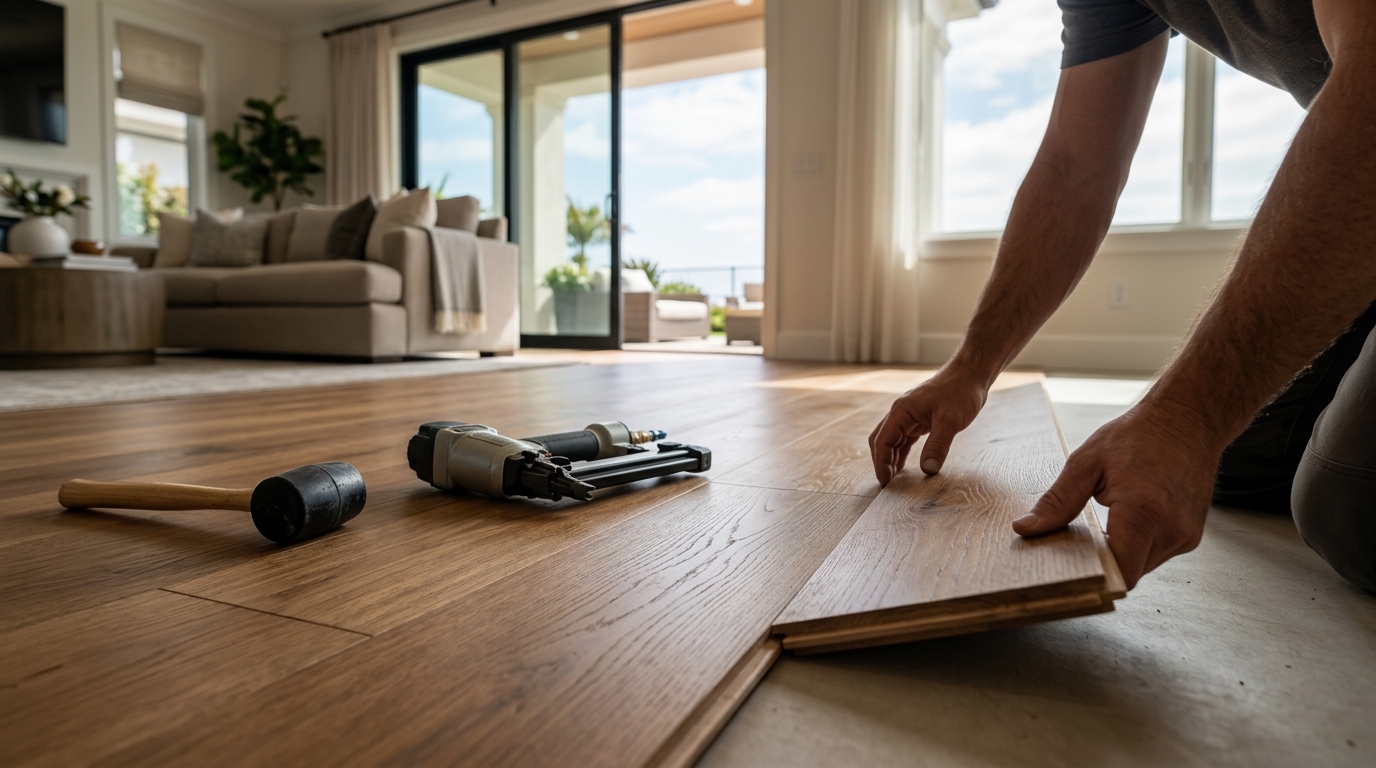
Step-by-Step Guide to Installing Hardwood Flooring in Orange County
Hardwood flooring remains the gold standard for residential aesthetics, with industry reports indicating that hardwood floors can increase home resale value by approximately 2.5 percent. In Orange County, where humidity levels fluctuate between coastal and inland regions, proper installation techniques are critical to prevent warping and gapping. This guide outlines the professional methodology used by experts to ensure a durable, beautiful finish that withstands the local climate. (Contact 8211 divinityoc com)
Step 1: Acclimation and Preparation
Before any nails are driven or planks are laid, the wood must adapt to the environment. Acclimation is the process where hardwood flooring adjusts its moisture content to match the indoor humidity and temperature of the home. In Orange County, this typically requires 3 to 5 days for engineered wood and up to 7 days for solid hardwood. Skipping this step can lead to significant expansion or contraction after installation, causing gaps or buckling.
Ensure your HVAC system is operational and maintaining a consistent temperature between 60 and 80 degrees Fahrenheit. The relative humidity should ideally stay between 30 and 50 percent. If the wood is delivered in a climate-controlled truck, it still needs time to equalize with the room's specific conditions. Proper acclimation prevents the need for costly flooring restoration later on.
Step 2: Subfloor Inspection and Leveling
A flawless finish depends entirely on the foundation. The subfloor must be clean, dry, and structurally sound. For concrete slabs, a moisture test is essential to prevent wicking issues. For wooden subfloors, check for any squeaks or loose boards that could transfer movement to the new floor.
Leveling is non-negotiable. Most manufacturers require the floor to be within a specific tolerance, often 3/16 inch over 10 feet. Use a long straightedge to identify high and low spots. Grind down high spots and use a self-leveling compound for depressions. Addressing these imperfections now ensures a smooth, professional result. If your subfloor has existing issues, consider professional floor repair and subfloor prep services to guarantee a stable base.
Step 3: Strategic Layout Planning
Planning the layout prevents awkward cuts and ensures a balanced aesthetic. The general rule is to install hardwood flooring perpendicular to the floor joists. This adds structural integrity and reduces the risk of planks flexing underfoot. In open-concept spaces, align the planks with the longest wall or the primary light source to enhance the room's depth.
Calculate the width of the room and divide it by the width of the planks. If the final row of planks will be narrower than 2 inches, adjust the starting line to balance the cut pieces on both ends of the room. This technique creates a more professional, symmetrical look. Proper planning also minimizes waste, saving you money on materials.
Step 4: The Installation Process
Installation methods vary based on the type of hardwood and your preference. The two most common methods are nail-down and glue-down.
Nail-Down Installation
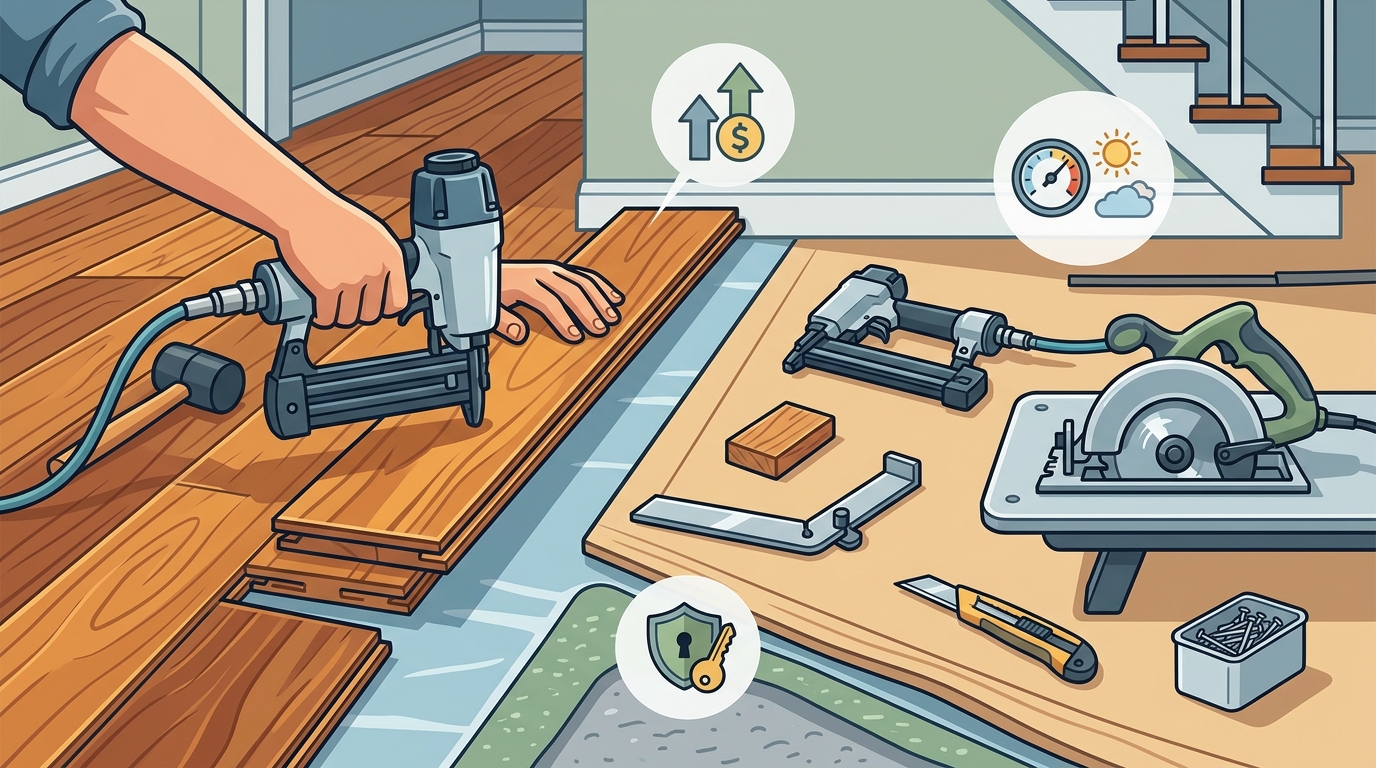
This method is used for solid hardwood over wooden subfloors. Start by laying down a moisture barrier if required by the manufacturer. Place the first row with the tongue facing the wall, using spacers to maintain an expansion gap of about 1/2 inch. This gap allows the wood to expand and contract with seasonal changes. Secure each plank through the tongue at a 45-degree angle using a pneumatic nailer. Stagger the end joints of adjacent rows by at least 6 inches for stability.
Glue-Down Installation
Engineered hardwood is often installed using a glue-down method, especially over concrete. Apply adhesive to a manageable section of the subfloor using a trowel with the appropriate notch size. Lay the planks into the adhesive, ensuring the tongue and groove are tightly engaged. Use a rubber mallet to tap the planks together without damaging the edges. This method provides excellent stability in areas with higher humidity.
For complex layouts or multi-room installations, professional flooring installation services can ensure precision and efficiency. DIY attempts often result in uneven seams or improper gaps, which can compromise the floor's longevity.
Step 5: Finishing and Protection
Once the planks are secured, remove the spacers and install baseboards and quarter-round molding to cover the expansion gap. If you are using unfinished hardwood, this is the time to sand and stain the floor. Sanding requires multiple grits, starting coarse and finishing fine, to achieve a smooth surface. Apply the stain evenly, allowing it to penetrate before wiping off the excess.
After staining, apply a protective finish. Polyurethane is a popular choice for its durability and resistance to scratches. Apply at least two coats, sanding lightly between each coat for adhesion. For a more eco-friendly option, consider water-based finishes that cure faster and have lower volatile organic compounds (VOCs). Proper finishing seals the wood from moisture and wear, extending its life significantly.
Step 6: Long-Term Maintenance
Maintaining hardwood floors in Orange County requires attention to humidity levels. Use humidifiers in the winter and dehumidifiers in the summer to keep the indoor environment stable. Clean the floor regularly with a dry microfiber mop to remove abrasive dirt and dust. Avoid wet mopping, as excess water can damage the finish and seep into the seams.
Place felt pads under furniture legs to prevent scratches. Use area rugs in high-traffic areas to reduce wear. If your floor becomes dull or scratched over time, professional flooring restoration can refinish the surface and restore its original beauty. Regular maintenance preserves the investment and keeps your home looking pristine.
Key Takeaways
- Acclimation is Critical: Allow hardwood to adjust to indoor humidity for 3-7 days before installation to prevent warping.
- Subfloor Levelness: Ensure the subfloor is level within 3/16 inch over 10 feet to avoid uneven planks.
- Expansion Gaps: Always maintain a 1/2 inch expansion gap around the perimeter to accommodate natural wood movement.
- Installation Direction: Install planks perpendicular to floor joists for maximum structural support.
- Humidity Control: Maintain indoor humidity between 30-50 percent to protect the wood from seasonal changes.
- Professional Finish: Apply at least two coats of polyurethane for durable protection against scratches and moisture.
- Regular Care: Use dry microfiber mops and felt pads to prevent surface damage and extend floor life.
Frequently Asked Questions
How long does hardwood flooring acclimation take?
Acclimation typically takes 3 to 5 days for engineered wood and up to 7 days for solid hardwood, depending on the manufacturer's specifications and local humidity levels.
Can I install hardwood flooring over concrete?
Yes, but you must use a glue-down method or a floating installation with a moisture barrier. Solid nail-down hardwood is not suitable for direct concrete installation due to moisture risks.
What is the best direction to install hardwood floors?
Install planks perpendicular to the floor joists for structural integrity. In open spaces, align them with the longest wall or the primary light source for a visually appealing effect.
How do I prevent gaps in hardwood floors?
Proper acclimation and maintaining consistent indoor humidity levels are the best ways to prevent gaps. Ensure an adequate expansion gap during installation to allow for natural movement.
Is DIY hardwood installation recommended?
While possible for experienced DIYers, professional installation ensures proper acclimation, leveling, and finishing, which are critical for long-term durability and warranty validity.
How often should I refinish my hardwood floors?
Refinishing is typically needed every 7 to 10 years, depending on foot traffic and wear. Regular maintenance can extend the time between refinishing sessions.
What is the difference between solid and engineered hardwood?
Solid hardwood is made from a single piece of wood and can be refinished multiple times. Engineered hardwood consists of multiple layers and is more stable in humid environments, making it ideal for Orange County.
Ready to Transform Your Home?
Installing hardwood flooring is a significant investment that enhances both the beauty and value of your home. While DIY is an option, professional expertise ensures precision, durability, and a flawless finish. Trust the experts at Divinity Flooring Services for premium materials and skilled craftsmanship. Contact us today to schedule your free in-home consultation and take the first step toward your dream floors.